I created my first Reticulum NomadNet Node this last week and I’ve decided to use it to bulid something fun. I’ve always been a sucker for old school RPGs (like Final Fantasy) so thats where I’m going to start.
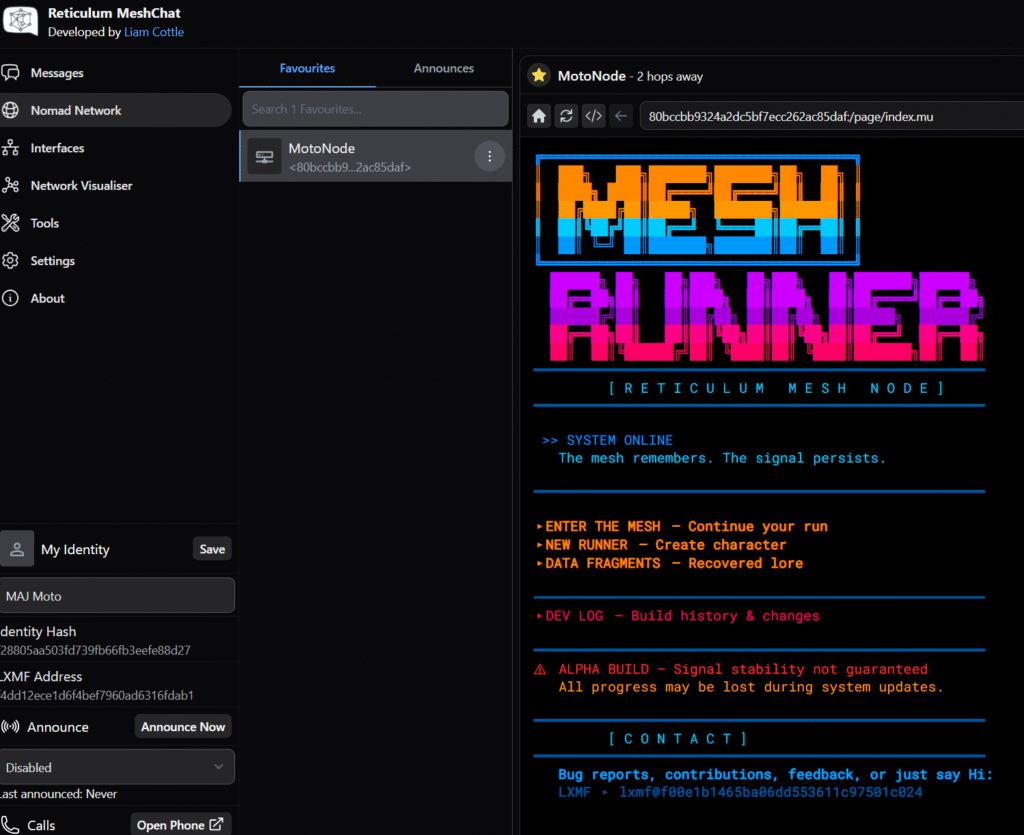
You can play the game now by going to my mesh node: 80bccbb9324a2dc5bf7ecc262ac85daf:/page/index.mu
Using NomadNet, MeshChat, MeshChatX, or rBrowse… basically any NomadNet browser will work.
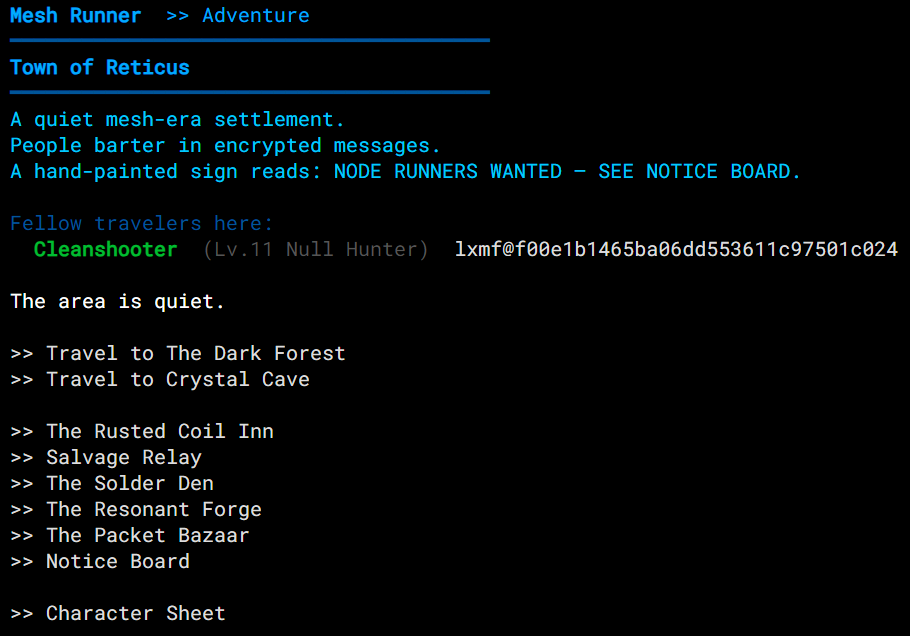
Right now the game is full text based but I’ve got plans to push this further with a full map/movement system.
Town is fairly well developed. We’ve got an inn (The Rusted Coil) and a way to sell enemy drops (Salvage Relay). Instead of a gold/shop system there’s a crafting system where you can craft both items and equipment from drops. The item crafiting is unlock and experiment based, so get ready to read some lore. There’s also an player market where you can sell items and your old gear to other players.
MMOish…
While I wouldn’t call this an MMO, you can interact with other players in a limited way. If you’re in the same place aas other players you’ll see them and their LXMF address so you can use Reticulums built in chat/voice system to talk to them. It’s up to the player to expose the address so if you don’t want to talk to people just don’t share your address during player creation. You can also buy/sell gear at the bazaar giving the game an MMO style economy (which I’m sure will break at some point).
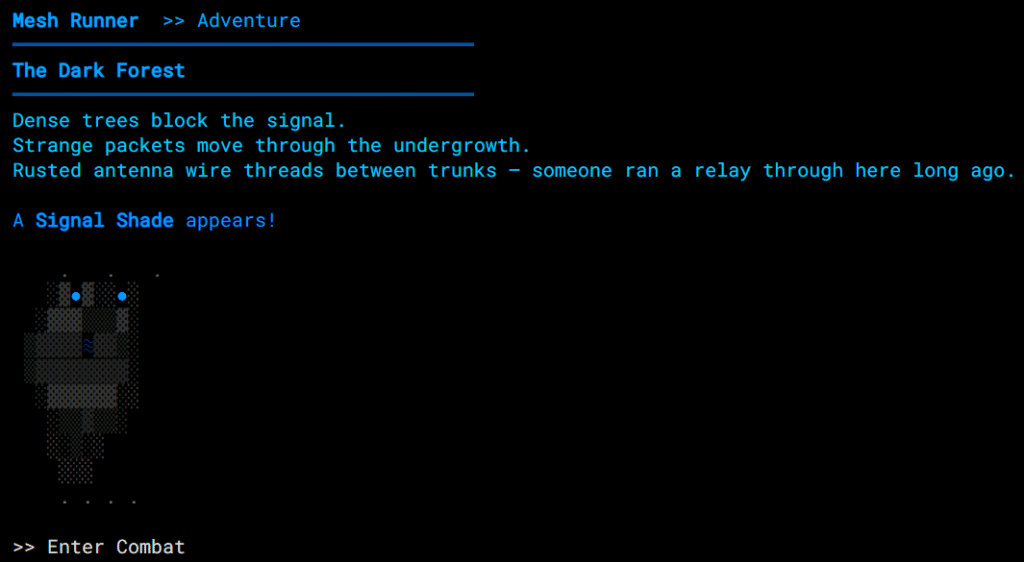
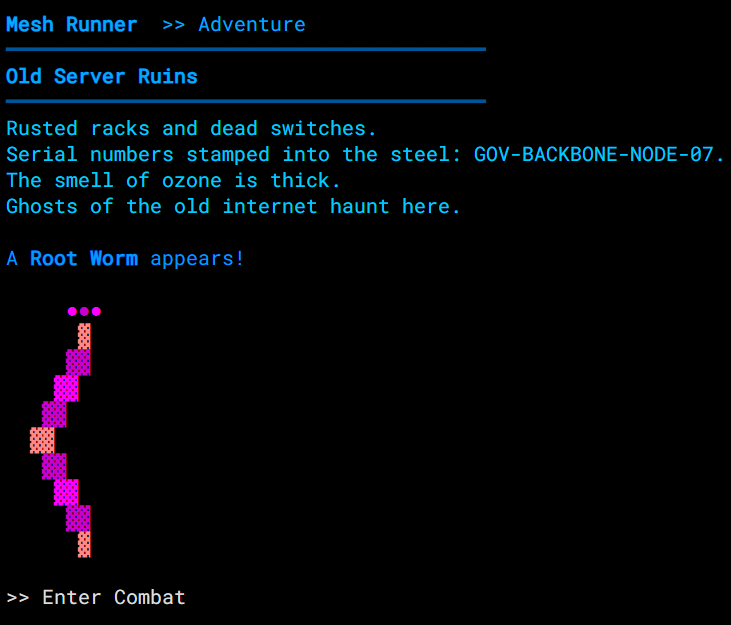
Enemies
Right now I’m working on getting some LoRa hardware so I can start trying to play this on my phone. I’m in talks with the guy who is working on Columba and he may add NomadNet to his mobile app (I may even contribute to the project myself) which is one of my net goals.
I’m also considering a quest system… but I kind of want to do that after the map system to be honest.
There’s still so much I want to build… mini games (hacking related of course), player contriubtion projects to expand the game (like teleport crystals that players actually have to help build before they work).
I also want to setup a system so players can build their own towns… think like “The Land: Chaos Seeds” or Fallout 4. I love me a city builder game and I’ve always wanted to play/build a RPG + City Builder combination. (Wow this is an ambitious project…. lol.) Some MMOs have this but I’ve never found one I like…. like FFXIV you could get a clan house… but they always felt so… limited (and expensive and SUPER GRINDY). What if instead of grinding rare loot to build the airship that isn’t really that cool, you could use common loot and do LOTS of things. Like No Man’s Sky but the towns and players are easier to find. I want to build a world that players can help shape in dramatic ways.
And I want to do it in ASCII.
This is all about happiness, building this has laready brought me joy and as long as it continues to do so I’ll keep building more.