For those of you still plowing through Module 2 of Web Application Architectures in the last bit he’ll show you have to setup a git repo for your project. However if you’re using Vagrant and you files sync like mine you don’t need to do all of that typing in the terminal of your VM (unless you really want to).
If you don’t have it installed already install Git for Windows. Once installed you can now do you git stuff straight from the Window GUI.
Right click your blog project folder and select Git Init Here BAM! repo with no typing.
Ohh you need to add those file? right click the blog folder then select Add all files now. BAM!
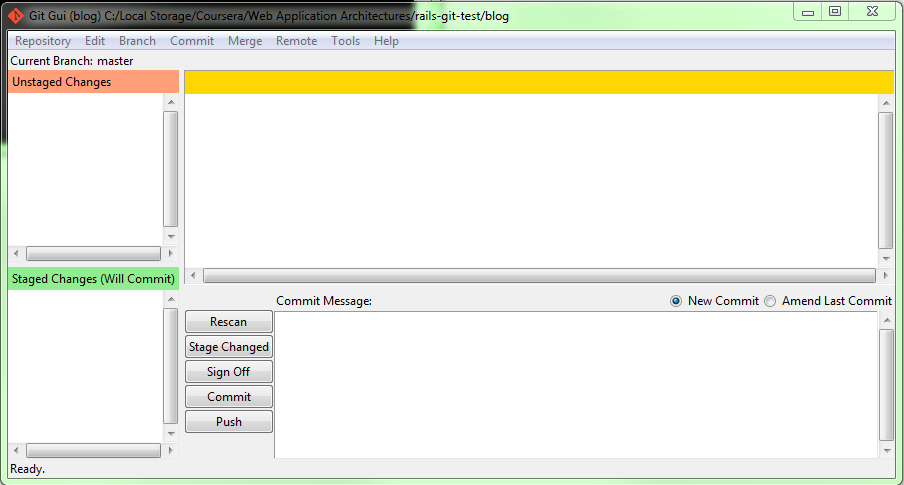
Ohh did you make some changes to your files? Right click the blog folder then select Git Gui. Maybe hit the Rescan button then ohh you could Stage Changed file then ohh look a Commit button. BAM!
Ohh and once you get you big bucket account you can setup that to by right clicking your blog folder and selecting Git Bash. In git back you type up:
git remote add origin https://youraccount@bitbucket.org/youraccount/blog.git
Now if you go back to the Gui you can click the Push button punch in your account password and your done.
BAM! (I love exclamation points and the word BAM today for some reason… who am I channeling Emirl?)

Must be…
Tell me what you REALLY think...